|
|
(Original Document)
|
|
Step
|
Action
|
|---|---|
|
1
|
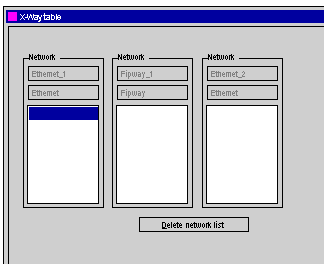
Open the Communication tab in your project browser and in the Routing table tab, click the X-Way table tab.
Result: The following window appears.
 If the list of accessible module networks is empty, the window appears automatically (without double-clicking).
|
|
2
|
Double-click the highlighted field in order to configure the first network.
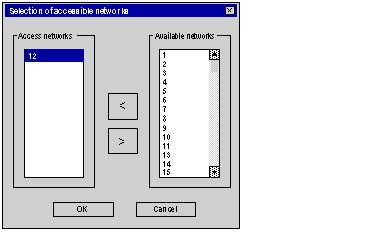
Result: The Selection of accessible networks window appears.
 |
|
3
|
Double-click the number of the required network from the Available networks scroll list.
Result: The network number is assigned in the Access networks scroll list.
|
|
4
|
Perform operation 3 as many times as necessary to define all the networks accessible by the module.
Once finished, proceed to step 5.
|
|
5
|
Confirm the selection by clicking OK.
|
|
6
|
Confirm the configuration of the X-Way router by closing the window or clicking the Enable button in the toolbar.
|
|
Step
|
Action
|
|---|---|
|
1
|
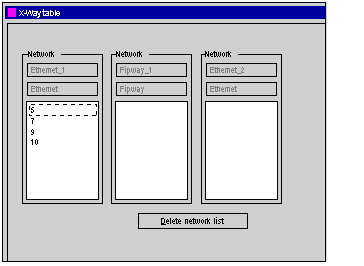
Access the following X-Way window.
 |
|
2
|
Click Delete network list.
|
|
3
|
Confirm the configuration
|
|
Step
|
Action
|
|---|---|
|
1
|
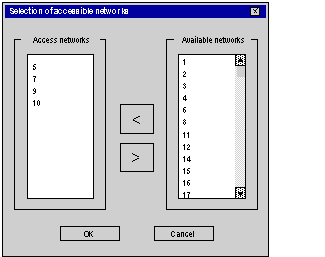
Access the following X-Way window of the accessible networks.
 |
|
2
|
Double-click the numbers of the accessible networks to be removed (left column).
Result: The network number is reassigned in the Available networks scroll list.
|
|
3
|
Confirm the selection by clicking OK.
|
|
4
|
Confirm the router configuration.
|