|
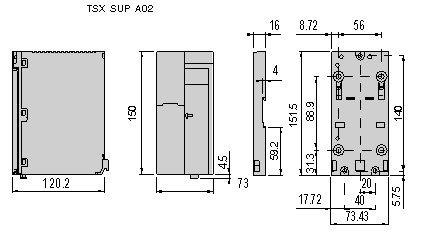
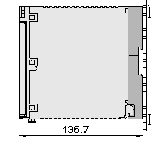
Dimensions and mounting of the AS-i TSX SUP A02 power supply unit
|
|
|
(Original Document)
|
|
Step
|
Action
|
Illustration
|
|---|---|---|
|
1
|
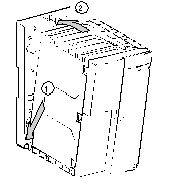
Place the pins on the back of the module into the corresponding slots of the support (number 1).
|
 |
|
2
|
Pivot the module upwards to bring it into contact with the support (number 2).
|
|
|
3
|
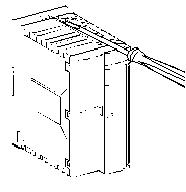
Tighten the screw situated on the upper part of the module to fix it to the support.
|
 |
|
Step
|
Action
|
Illustration
|
|---|---|---|
|
1
|
Check that the module is mounted on the support.
|
 |
|
2
|
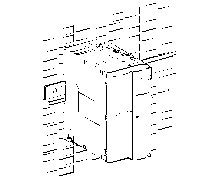
Mount the module and support on the mounting rail.
|
 |
|
Step
|
Action
|
Illustration
|
|---|---|---|
|
1
|
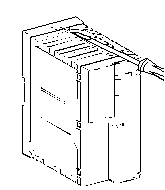
Remove the module from its support by reversing the mounting steps.
|
 |
|
2
|
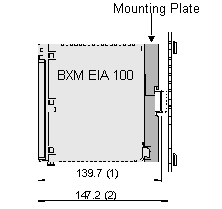
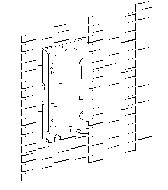
Mount the support on the AM1-PA mounting plate.
|
 |
|
3
|
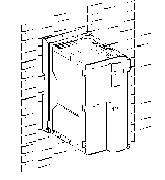
Mount the module on its support according to the mounting steps.
|
  |