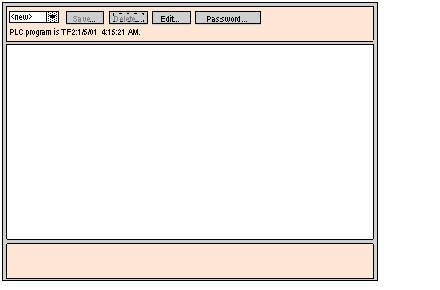
The Graphic Editor applet is separated into three windows:
-
Top Window: This window provides the area for presenting all the user controls and dialogs for creating, saving, reading, and editing a graphic display.
-
Display Window: This window provides an area for presenting the current graphic display. When you create a new graphic display, this window becomes an "empty canvas" on which you can add the graphic objects that will compose the desired graphic display.
-
Message Window: This window presents any messages generated by the Graphic Editor.
The figure below shows the Graphic Editor applet with its initial top window, and empty display and message windows.
All graphic objects provided with the Graphic Editor are capable of communicating with the PLC from which the Graphic Editor applet was downloaded. There is no additional "wiring" of the graphic objects with "communication objects." All graphic objects are standalone, meaning there are no connections required between them and each is capable of operating independently.
Viewing a Graphic Display
After the Graphic Editor applet has been uploaded to a Web browser, you will usually want to either view a graphic display (for monitoring/controlling the PLC application) or create or modify a graphic display. A user who only wants to view and interact with existing graphic displays (e.g., an operator) can select the Graphic Viewer link instead of Graphic Editor. They will see a window with the widgets that does not include the Edit menu. This viewer loads faster than the standard Graphic Editor because it is lighter. You need only to enter a password to write data to the PLC.
Create and Modify Graphic Displays
To create and modify graphic displays, click the Edit... button to see the standard graphic editor functions. These include selecting objects from a palette, dropping them onto a canvas, moving and resizing them with a mouse, and setting object properties. You can immediately test the modified graphic display with run-time data from the PLC by clicking the Done button to exit edit mode. When satisfied with your creation, the graphic display can be saved to the PLC for re-use by clicking the Save... button, assuming you entered the correct password.
Most of the Graphic Editor’s user functions are available as
Top Window User Functions. From the display window, you can directly manipulate a graphic object’s size and location. All properties of a graphic object (e.g., scaling values, labels, colors, PLC addresses of the run-time data) are set in the
Property Sheet.