|
Basic Parameters for Lexium 15LP using Unilink L
|
|
|
(Original Document)
|
|
Step
|
Action
|
|---|---|
|
1
|
Start Unilink L via Start → Program → Unilink → Unilink L.
Result: a window ask you if you would like to connect to the drive
|
|
2
|
Click on the Yes button.
Result: a window to select the device appears.
|
|
3
|
Select RS-232 and click on the OK button.
Result: a window of RS-232 settings appears.
|
|
4
|
Set the serial port (COM1 to COM10), the Baud Rate (38400), the Timeout (2000ms).
|
|
5
|
Click on the OK button.
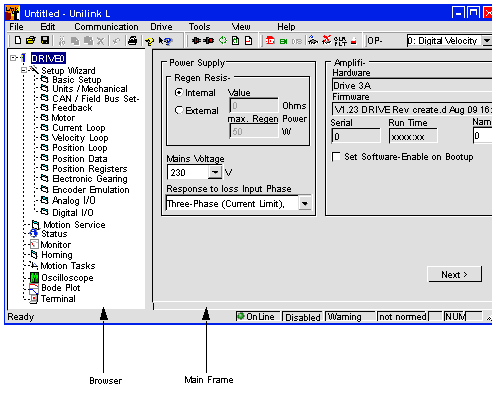
Result: Unilink L software appears.
 |
|
Step
|
Action
|
|---|---|
|
1
|
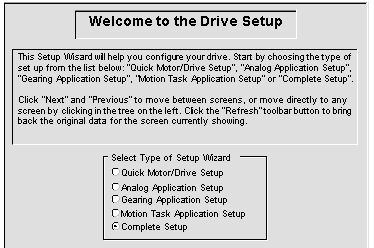
Click on the Setup wizard on the browser.
Result:the Drive Setup screen in the main frame appears:
 |
|
2
|
Select the Complete Setup on the screen.
Result: the browser with all configurations links appears.
|
|
3
|
Click on the Basic Setup on the browser.
Result: the Basic Setup screen in the main frame appears:
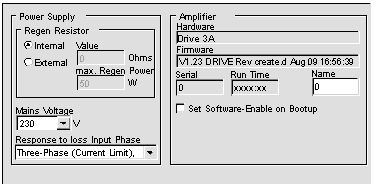 This screen is used to set parameters of the power supply.
|
|
4
|
Click on the Units/Mechanical on the browser.
The Units/Mechanical screen in the main frame appears:
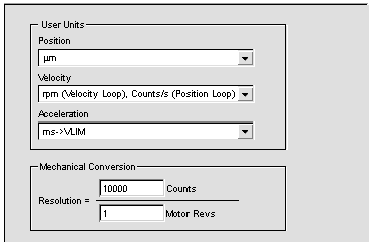 For the tutorial example, from this screen set or select the following:
|
|
5
|
Click on the CAN / Field Bus Settings on the browser.
The CAN / Field Bus Settings screen in the main frame appears:
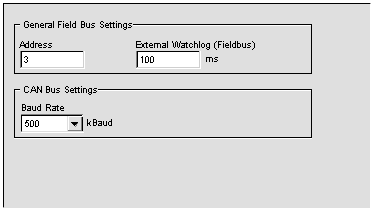 For the tutorial example, from this screen set or select the following:
|
|
6
|
Click on the Motor, Resolver folders on the browser to declare the motor and the feedback parameters.
Note: for information on how to declare the motor correctly, please refer to the motor documentation.
|
|
7
|
Save the parameters via Drive → Save to EEPROM.
Result: the basic setup is saved and the main screen is displayed again.
|