|
Basic Parameters for Lexium 15MP using Unilink MH
|
|
|
(Original Document)
|
|
Step
|
Action
|
|---|---|
|
1
|
Start Unilink MH via Start → Program → Unilink → Unilink MH.
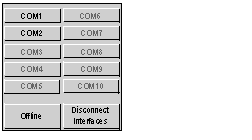
A communication window is displayed on main window of Unilink MH:
 If the port that you are using is available (i.e. is not being used by other devices or programs), the name COM1, COM2, COM3, COM4, COM5, COM6, COM7, COM 8, COM9, COM10 appears in black. Otherwise, it appears in grey.
|
|
2
|
Click on one of these communication ports (the port that you use on your PC) to transfer the values of the servodrive parameters to your PC.
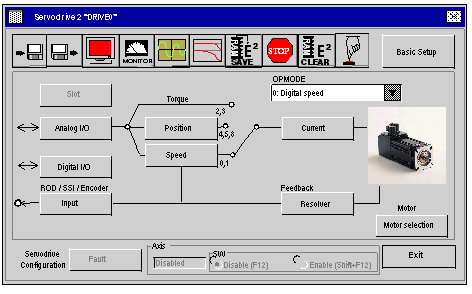
When communication has been established, this general screen appears:
 |
|
Step
|
Action
|
|---|---|
|
1
|
Click on the Basic Setup button in the general screen.
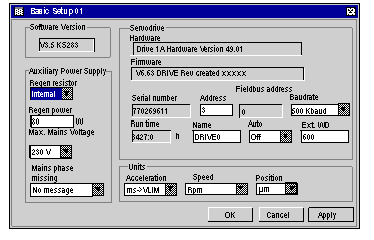
The Basic Setup window appears:
 This screen is used to set parameters for the servodrive’s CANopen address, the bus speed and the units used for acceleration, speed and position.
|
|
2
|
For the tutorial example, from this screen set or select the following:
|
|
3
|
Click on the Motor Selection, Current, Resolver buttons to declare the motor and the feedback parameters.
Note: for information on how to declare the motor correctly, please refer to the motor documentation.
|
|
4
|
Click OK to confirm the basic configuration.
Result: the basic setup is saved and the main screen is displayed again.
Note: when certain ASCII parameters have been enabled, a window appears asking you to save changes to the servodrive’s EEPROM memory. Click on OK to restart the servodrive and update the memory.
|
|
5
|
Click on Exit.
|