Placing horizontal links
Process the following steps to place a horizontal link:
Step |
Action |
|---|---|
1 |
Activate the placement mode for horizontal links, see also Select links. Example: 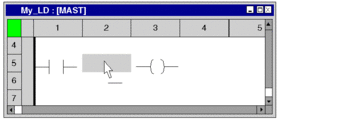 |
2 |
Click the target cell in the LD section. or Use the arrow keys to move the gray field to the target position and press Enter. Result: The link is inserted. Example: 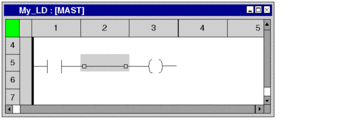 See also
|
3 |
To place further links of the same type:
|
Placing horizontal links in link-tool mode
Process the following steps to place a horizontal link in link-tool mode:
Step |
Action |
|---|---|
1 |
Activate the link-tool mode, see also Select links. Example:  |
2 |
Click the target cell in the LD section. or Use the arrow keys to move the gray field to the target position and press Enter. Result: The link is inserted and a connection is created to the neighboring Boolean objects to the left and right. If there are no neighboring Boolean objects available, a connection to the power rail is made. This function is a good way to connect coils with the right power rail. Example:  See also
|
3 |
To place further links of the same type:
|
Placing vertical links
On the right side of the cells, there is space to create a vertical link to the cell below. Process the following steps to place a vertical link:
Step |
Action |
|---|---|
1 |
Activate the placement mode for vertical links, see also Select links. Example:  |
2 |
Click the contact which should be connected with the cell below. or Use the arrow keys to move the gray field to the target position and press Enter. Result: The link is inserted and the selection mode is active again. Example: 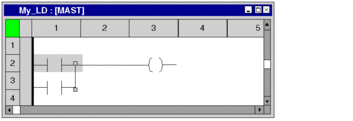 See also
|
3 |
To place further links of the same type:
|
Placing an FFB link with the mouse
Process the following steps to place an FFB link using the mouse:
Step |
Action |
|---|---|
1 |
Activate the placement mode for FFB links. See also Select links. |
2 |
Place the mouse pointer on the start point of the link. Notes: When creating an FFB link, first select the output pin and then the input pin. The cursor symbol indicates the correct position . Example: 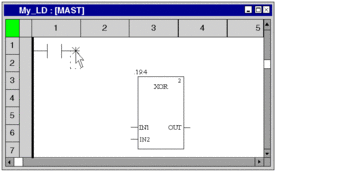 |
3 |
Click the left mouse button on the start point and drag mouse pointer to the target point of the link. Example: 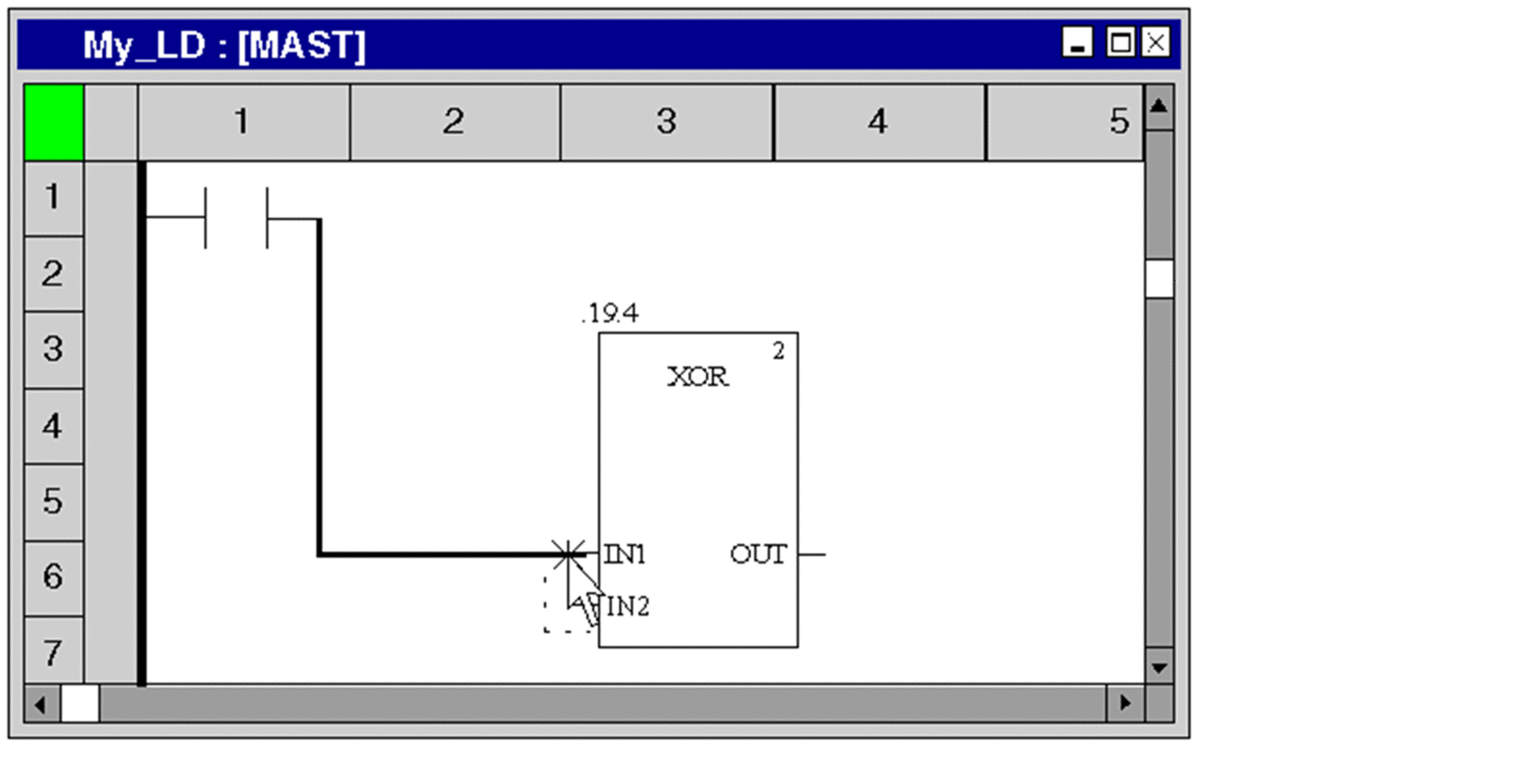 Note: For FFB links, at least one FFB input or output must be used. An FFB link between contacts and coils is automatically resolved into a combination of horizontal and vertical links. Tips:
|
4 |
Click on the target position with the left mouse button Result: The link is inserted. When the cursor is placed over an FFB link, the tooltip displays the source and the destination of the link. Example: 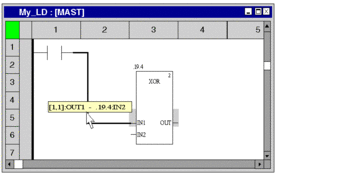 See also |
Placing an FFB link with the keyboard
Process the following steps to place an FFB link using the keyboard:
Step |
Action |
|---|---|
1 |
Use the arrow keys to move the gray cell cursor to the source object (for example, contact) of the link. Note: When creating an FFB link, first select the output pin and then the input pin. |
2 |
Activate the placement mode for horizontal links using F6. See also Select links. |
3 |
Press the Ctrl+Enter key combination. Result: The output pin of the object in the gray cell is selected as the start point of the FFB link. Example: 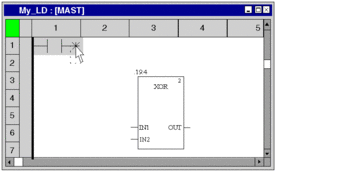 |
4 |
Use the Ctrl+arrow keys to move the cursor to the target position of the link. Tips:
Example:  Note: For FFB links, at least one FFB input or output must be used. An FFB link between contacts and coils is automatically resolved into a combination of horizontal and vertical links. |
5 |
Press the Ctrl+Enter key combination. Result: The link is inserted. Tip:When the cursor is placed over an FFB link, the tooltip displays the source and the destination of the link. Example: 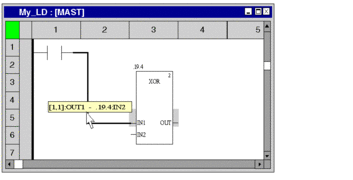 See also |
Placing horizontal and vertical links using FFB links with the mouse
The functions for creating FFB links can also be used to create horizontal and vertical links between other objects (not FFBs). If an FFB link involves no input or output, the FFB link is automatically resolved into a combination of horizontal and vertical links. To do this, process the following steps:
Step |
Action |
|---|---|
1 |
Activate the placement mode for FFB links. See also Select links. |
2 |
Place the mouse pointer on the start point of the link. Notes: When creating an FFB link, first select the output pin and then the input pin. The cursor symbol indicates the correct position . Example: 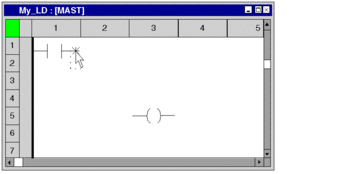 |
3 |
Click the left mouse button on the start point and drag mouse pointer to the target point of the link. Example: 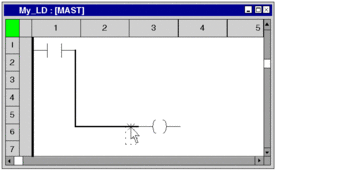 Tips:
|
4 |
Click on the target position with the left mouse button Result:The link is inserted and the FFB link is automatically resolved into a combination of horizontal and vertical links. Example: 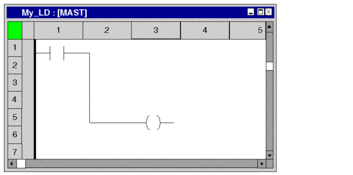 See also |
Placing horizontal and vertical links using FFB links with the keyboard
The functions for creating FFB links can also be used to create horizontal and vertical links between other objects (not FFBs). If an FFB link involves no input or output, the FFB link is automatically resolved into a combination of horizontal and vertical links. To do this, process the following steps:
Step |
Action |
|---|---|
1 |
Use the arrow keys to move the gray cell cursor to the source object (for example, contact) of the link. Note: When creating an FFB link, first select the output pin and then the input pin. |
2 |
Activate the placement mode for horizontal links using F6. See also Select links. |
3 |
Press the Ctrl+Enter key combination. Result: The output pin of the object in the gray cell is selected as the start point of the FFB link. Example: 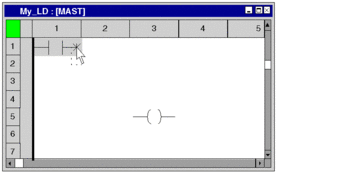 |
4 |
Use the Ctrl+arrow keys to move the cursor to the target position of the link. Tips:
Example: 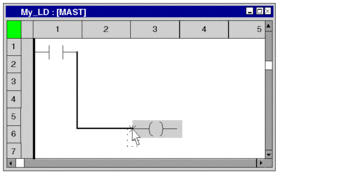 |
5 |
Press the Ctrl+Enter key combination. Result:The link is inserted and the FFB link is automatically resolved into a combination of horizontal and vertical links. Example: 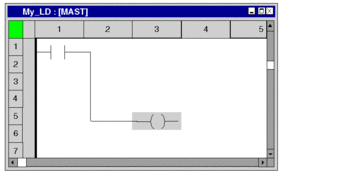 See also |
Placing derivation links
Process the following steps to place a derivation link:
Step |
Action |
|---|---|
1 |
Activate the derivation-tool. 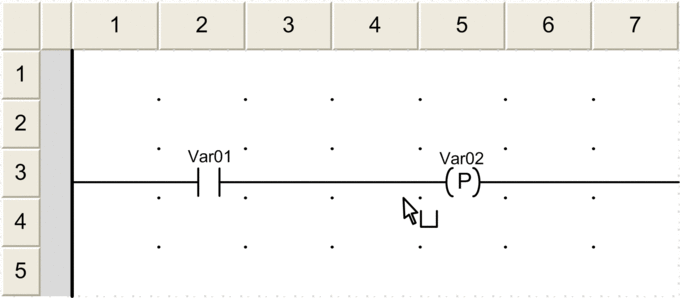 |
2 |
Click the target cell in the LD section. This cell is the starting point of the derivation. Result: The derivation is inserted. 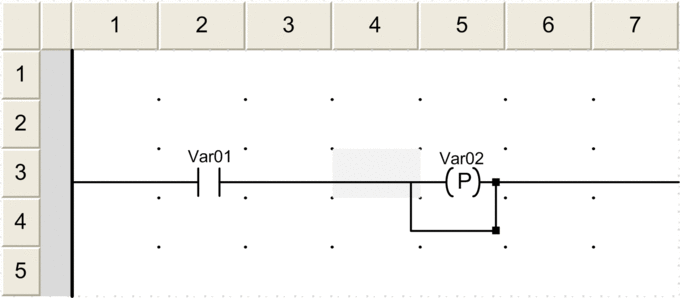 NOTE: The width and height of the derivation link
is one cell. The derivation can be enlarged.
|
Resizing derivation links
Process the following steps to enlarge a derivation link:
Step |
Action |
|---|---|
1 |
Activate the select mode. |
2 |
Left-click and keep it pressed one vertical link of the derivation you want to enlarge. Example: 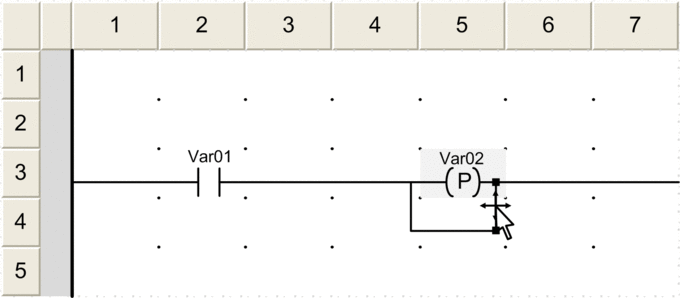 |
3 |
Drag the mouse to the new position for the vertical link. Result: The derivation link is enlarged. Example: 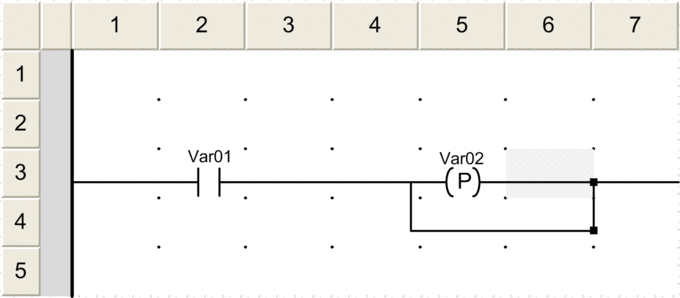 |


