|
Establishing a Connection with an Ethernet Module
|
|
|
|
|
Step
|
Action
|
|---|---|
|
1
|
Click File → New.
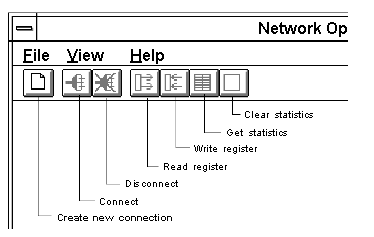
 Or, click the Create new connection toolbar icon.
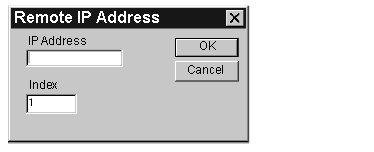
 Result: The Remote IP Address dialog box appears.
|
|
2
|
Type the adapterís IP network address or role name in the IP Address field.
 NOTE: With a bridge, the IP of the bridge is entered and the bridge index is placed in the Index field. This valus is normally a Modbus or Modbus Plus address (depending on the type of bridge being used); in a CEV20030 or CEV20040, this could be the index number for a predefined routing path in the bridge. After clicking Enter, the tool will attempt to open a connection to the target IP. If this devices is present and accepts the connection, a dialog will appear that allows the user to define the offset and length of the Modbus message,
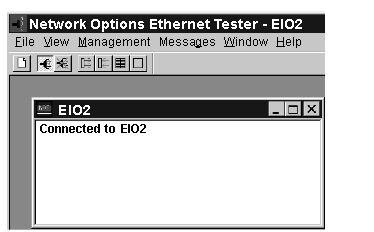
Click OK. This dedicates a connection from your PC to the designated Ethernet module and brings you to the main menu.
 |
|
3
|
You may establish several connections with the same module or with other modules by repeating step 2 for each new connection.
|
|
4
|
When you are ready to disconnect, click Management → Disconnect, or click the Disconnect toolbar icon.
 |
|
5
|
Click Management → Set Ip Addr, after disconnecting from 1 module, to reassign its dedicated connection. Type the new IP network address or role name in the box provided.
 |