Importing Momentum Legacy Applications
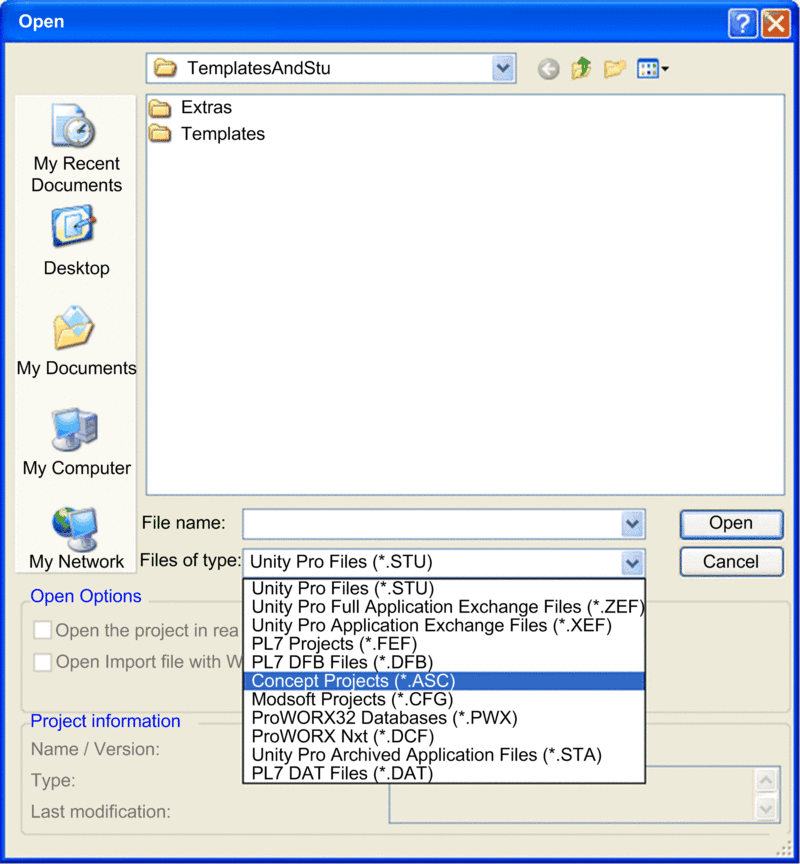
Control Expert can import and convert legacy Momentum applications originally created with other programming software. You can import the following legacy LL984 applications:
Concept Projects (*.ASC)
Modsoft Projects (*.CFG)
ProWORX32 Databases (*.PWX)
ProWORX Nxt (*.DCF)
When you import an application to Control Expert from other programming software, some functions may behave differently.
For example:
Cold start behavior of Control Expert LL984 applications is different from legacy LL984 applications.
Imported Concept IEC coils behave differently than imported LL984 coils.
Unit Pro MATH functions might not behave the same as legacy LL984 (overflow, underflow, etc.).
Forced outputs will not retain their forced state in Control Expert on the occurrence of any one of the following events:
cold start
application download
setting system bit %S0 to 1
By contrast, forced outputs retain their forced state in Concept, Modsoft and ProWORX projects on the happening of any of these events.
| WARNING | |
|---|---|
Importing Legacy Project Files
To import and convert a legacy project file:
Step |
Action |
|
|---|---|---|
1 |
In Control Expert, select to display the dialog:  |
|
2 |
Select the desired :
|
|
3 |
Navigate to and select the desired legacy application, then click . The import process begins. |
|
4 |
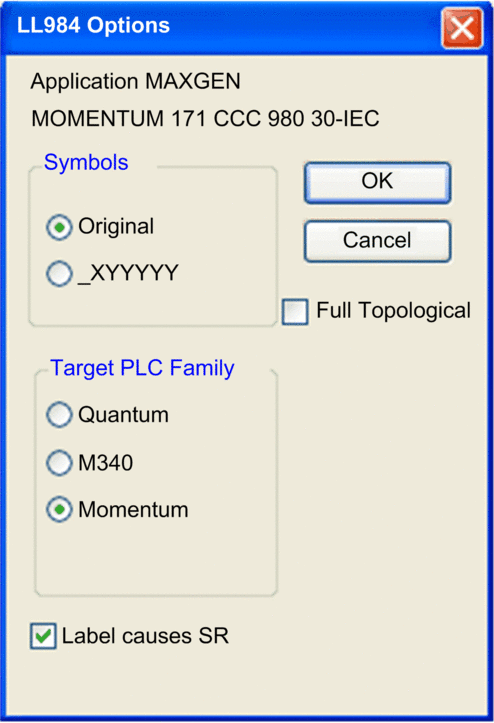
After a few seconds, the dialog opens.  Use the dialog to input settings that will configure the import process, as described below. |
|
5 |
In the area, select one of the following: |
|
Select this option to use the original variable names of the legacy application in your new Control Expert application. |
||
Select this option to automatically convert the legacy variable names. The new variable names will be composed according to the following list:
For example stands for%MW1. |
||
6 |
In the area, select . |
|
7 |
Select the checkbox, to import a segment containing labels as an SR segment, even if its scheduling does not express this. Labels are allowed only in SR segments. |
|
8 |
Click to save your settings. The options dialog closes. NOTE: The selection does not apply
to Momentum projects. Momentum uses State RAM addressing.
|
|
9 |
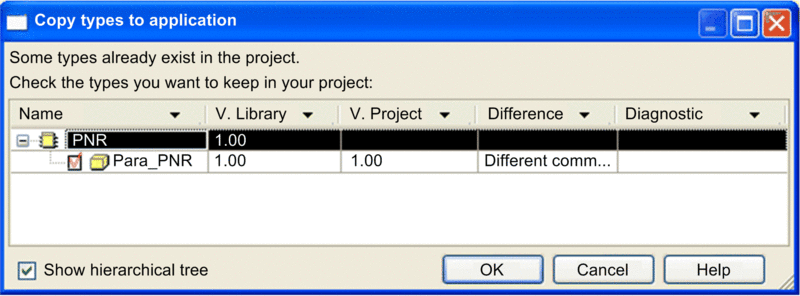
If the legacy application contains custom data types, the following dialog opens:  |
|
10 |
Select to expand the list of types. |
|
11 |
Select each type to include in the imported project. |
|
12 |
Click to save your settings. The dialog closes. |
|
13 |
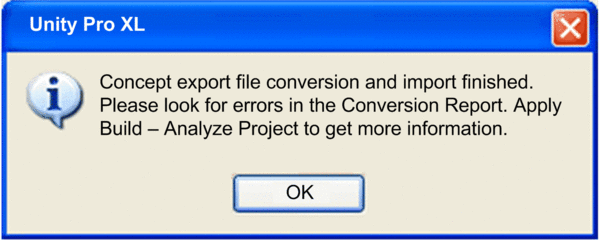
When the import process is complete, the following dialog displays:  |
|
14 |
Click to close the dialog. |
|
Post Import Clean-up
The import process may not successfully convert every element of the legacy application. In this case, you need to manually edit the application to complete the conversion process.
Use the tabs in the Control Expert to determine what manual edits you need to make to complete conversion of the legacy application:
After the import process finishes, the tab of the Control Expert displays a message for each legacy application element. If the message is the color:
gray: the item converted successfully
red: the item was not converted successfully
blue: this text describes the cause of the item in red above it
Use the command to determine if your edits resolved the detected conversion errors. The tab of the Control Expert displays any detected errors.
Use the command to build the application. Control Expert displays any detected errors in the tab of the Control Expert .
Use the commands to build your edits to the application. The tab of the Control Expert displays any detected errors.
When you double-click a blue text message in the , Control Expert opens a window displaying the source of the detected problem.
Control Expert logs the conversion process, and stores the log file in the same location as the original legacy application file. You can examine the log file to locate the legacy application elements that need to be manually converted.


