Configuring the Ethernet Port
To use the Ethernet port on the 171 CBU 98090 and 171 CBU 98091 processors, you need to perform the following tasks in Control Expert:
create an Ethernet network
link the new Ethernet network to the Ethernet port on the processor
Follow these steps to configure the Ethernet port:
Step |
Action |
|---|---|
1 |
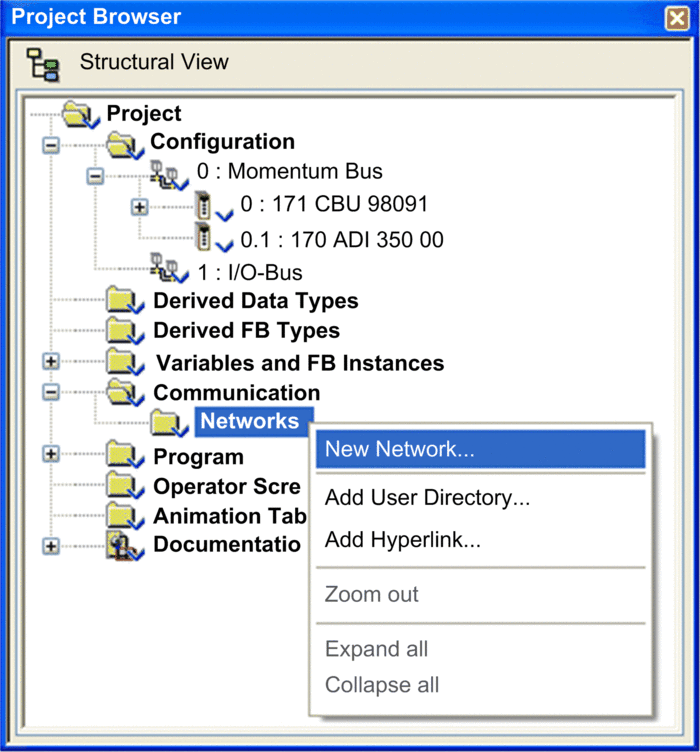
Create an Ethernet network. In the , navigate to . |
2 |
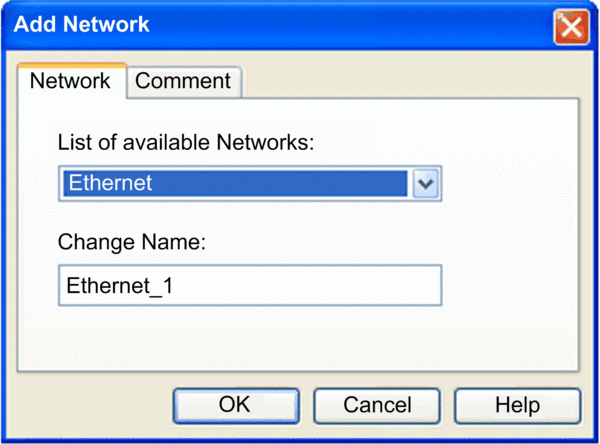
Right click the node, and select from the menu:  The dialog opens. |
3 |
In the tab of the dialog, select as the network type, and accept the default network name (in this example, the default network name :  |
4 |
Click to save the new Ethernet network. The next task is to associate the new network with the Ethernet port. on the processor. |
5 |
In the , navigate to and open the folder. |
6 |
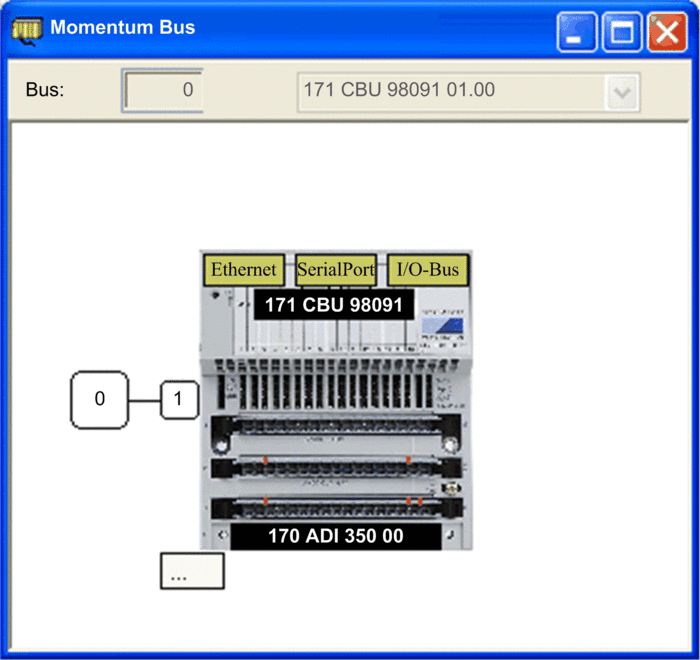
Double-click the node to display the processor on its I/O base:  |
7 |
In the window, double-click the port to open the configuration window for that port. |
8 |
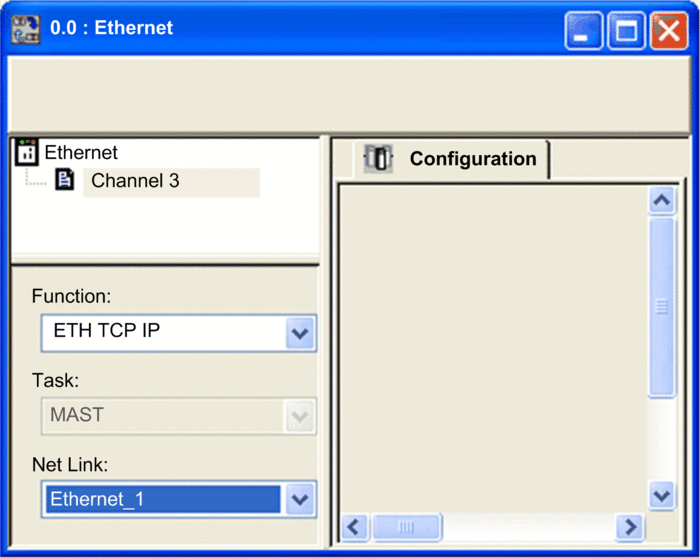
In the Ethernet port configuration window: 
|
8 |
In the Control Expert menu bar, click the button; then click the button. |


