Configurator Window
The configurator window is split into two windows:
Catalog window
A module can be selected from this window and directly inserted in the graphical representation of the PLC configuration by dragging and dropping.
Graphical representation of the PLC configuration
Representation of the Configurator window:
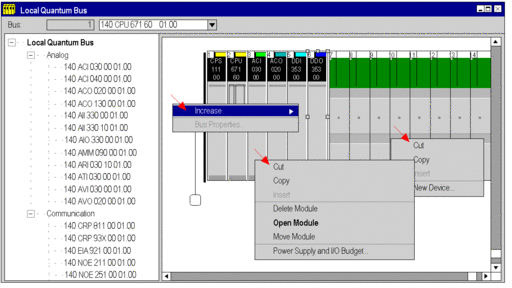
One of the following shortcut menus is called depending on the position of the mouse pointer:
Mouse pointer on the background allows among others:
Change CPU,
Selection of different Zoom factors.
Mouse pointer on the module allows among others:
Access to editor functions (delete, copy, move),
Open the module configuration for defining the module specific parameters,
Show the I/O properties and the total current.
Mouse pointer on an empty slot allows among others:
Insert a module from the catalog,
Insert a previously copied module including its defined properties.
Module Configuration
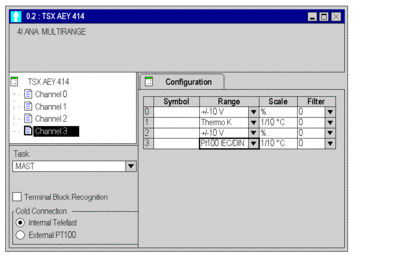
The module configuration window (called via the modules shortcut menu or a double-click on the module) is used to configure the module. This also includes channel selection, selection of functions for the channel selected, assignment of State RAM addresses (only Quantum) etc.
Module configuration window for a Premium I/O module:
Module Properties
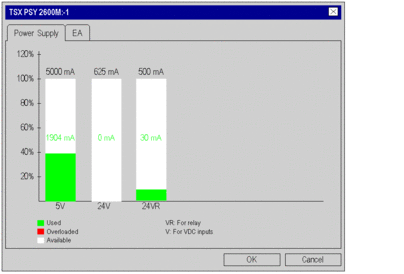
The module properties window (called via the modules shortcut menu) shows the modules properties such as the power consumption, number of I/O points (only Premium) and more.
The module properties window for the power supply shows the total current of the rack:
Network Configuration
The network configuration is called via the communications folder.
Network configuration:
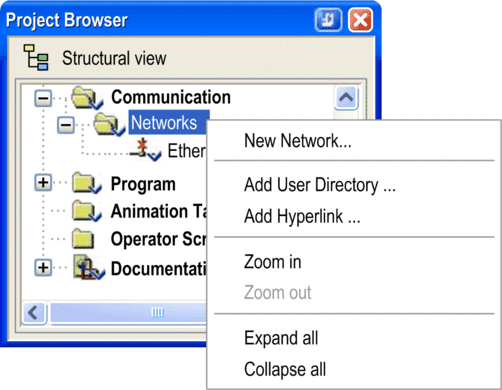
The network configuration windows allow among others:
Creation of networks
Network analysis
Printout of the network configuration
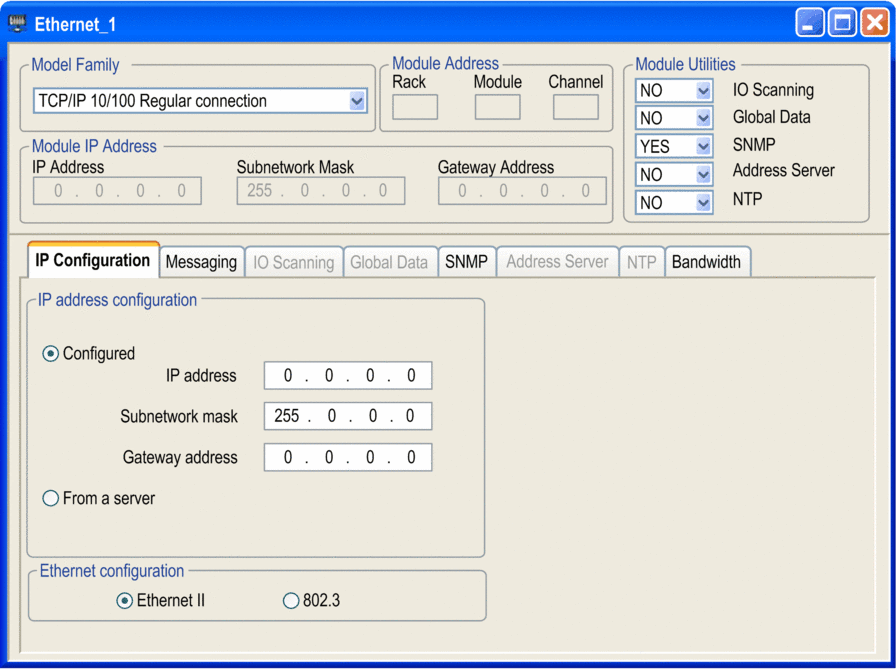
A window for configuring a network:
After configuration the network is assigned a communications module.


