Mounting the BMX MSP 0200 PTO Module
Original instructions
At a Glance
The BMX MSP 0200 PTO module is powered by the rack bus. The module itself may be installed or removed without turning off the power supply to the rack.
Mounting operations (installation, assembly and disassembly) are described below.
Installation Precautions
The PTO modules may be installed in any of the positions in the rack except for the first two (marked PS and 00) which are reserved for the rack’s power supply module and the processor respectively. Power is supplied by the bus at the bottom of the rack (3.3 V and 24 V).
Before installing a module, you must take off the protective cap from the module connector located on the rack.
DANGER
HAZARD OF ELECTRIC SHOCK
  • disconnect voltage supplying sensors and pre-actuators before plugging / unplugging the terminal block on the module.
  • remove the terminal block before plugging / unplugging the module on the rack.
Failure to follow these instructions will result in death or serious injury.
Installation
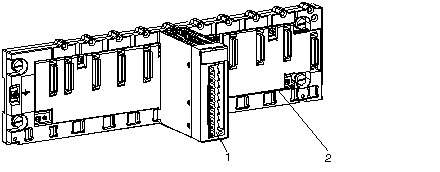
The following diagram below shows a PTO module mounted in the rack:
The following table describes the different elements which make up the assembly below:
Number
Description
1
BMX MSP 0200 PTO module
2
Standard rack
Installing the Module in the Rack
The following table shows the procedure for mounting the BMX MSP 0200 PTO modules in the rack:
Step
Action
Illustration
1
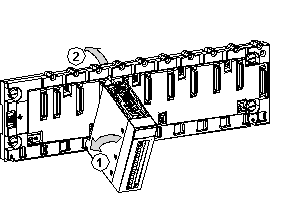
Position the locating pins situated at the rear of the module (on the bottom part) in the corresponding slots in the rack.
NOTE: Before positioning the pins, make sure you have removed the protective cover.
Steps 1 and 2
2
Swivel the module towards the top of the rack so that the module sits flush with the back of the rack. It is now set in position.
3
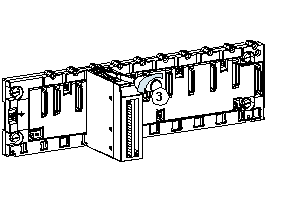
Tighten the mounting screw to ensure that the module is held in place on the rack.
Tightening torque: 0.4...1.5 N•m (0.30...1.10 lbf-ft).
Step 3